


Fur is a great first project for learning to sculpt with Green Stuff. It’s an easy way to add details onto a model or to make a sculpt your own.
First, let's have a look at the tools you’ll need.
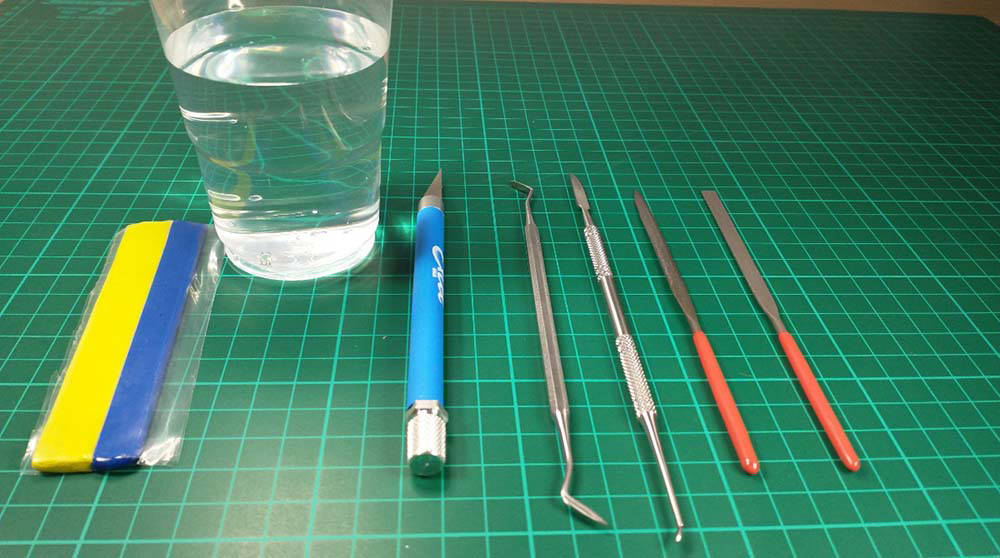
Sculpting tools: Ideally have a few different ones to choose from. The best way to figure out the most suitible tool for each job is to have a play with them to see what works for you. If you can spare a few practice minis to sacrefice and expirement on, all the better.
Craft knife: You can also use scissors. But basically, this is just for making sure you cut the Green Stuff from the strip neatly. This is beacuase too much blue and it will be difficult to work with, and too much yellow and it won't set hard.
Files: When the Green Stuff is dry, use modeling files to tidy up any mistakes.
Green Stuff: It is very hard to sculpt Green Stuff without any Green Stuff
Water: Use water to keep your tools wet and to stop them from sticking to the Green stuff while you work on it.
Finally, our secret superweapon for sculpting fur? A Pin!
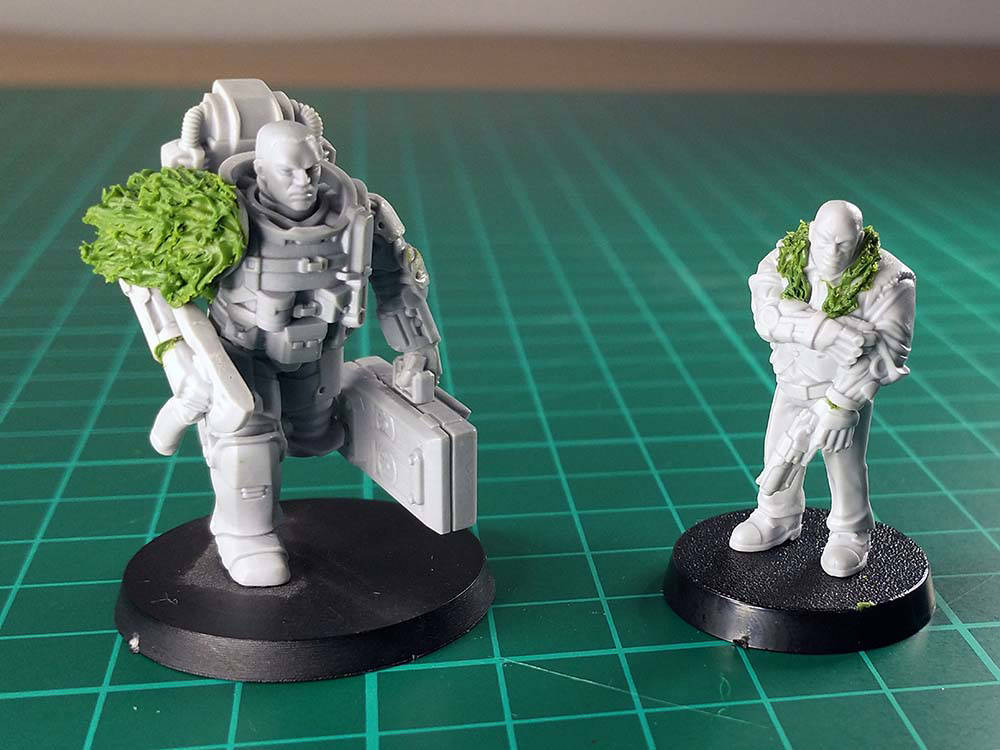
We’re going to be looking at two types of fur in this post. A big, shaggy fur shoulder pad for our Exo Lord and a more refined, tailored collar for our Cyberpunk bouncer.
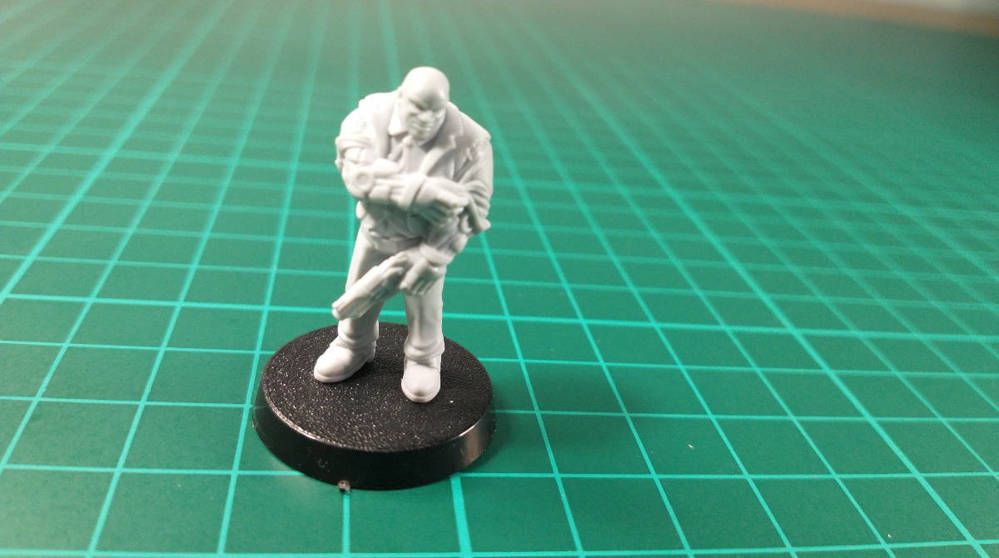
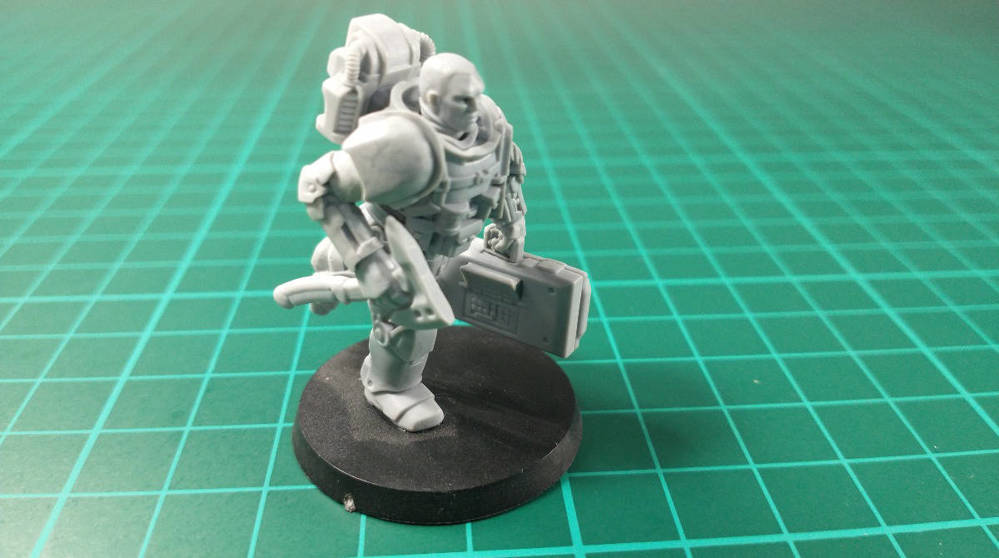
When you’re sculpting your fur, think about the type of animal it is from. Wild beasts like bears, wolves and mammoths will have the first kind of fur. Whereas shorter haired animals like beaver, big cats and rabbits will have the latter.
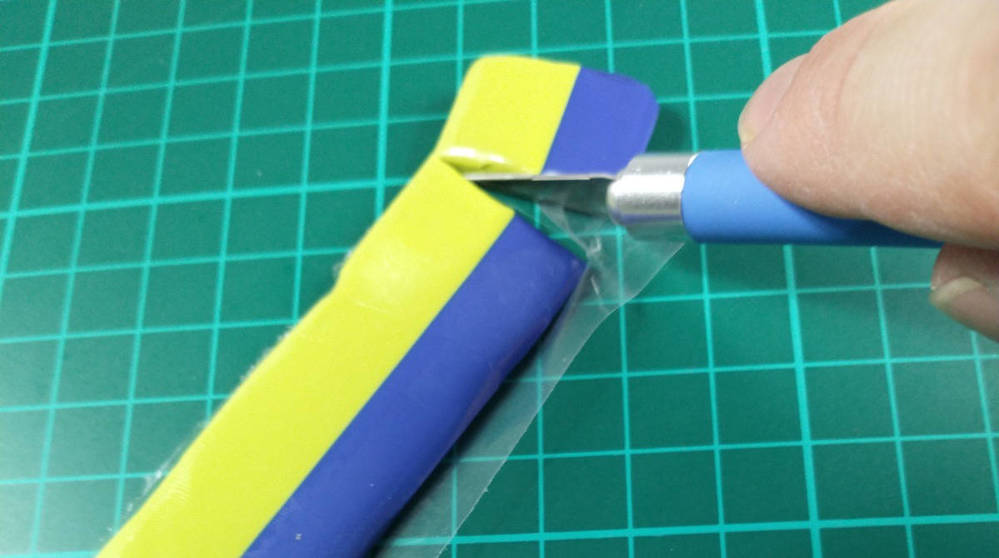
By using a hobby knife or a pair of scissors, you can get the exact ratio of blue to yellow. DON’T JUST PULL IT. This means your Green Stuff will be at the right texture for sculpting and will dry hard. Remember, if you’re using any kind of bladed tool- be careful.
Knead the Green Stuff between your fingers, ensuring the colour is blended to a universal green. Then, spend a couple of minutes just heating it up and making sure it’s pliable.
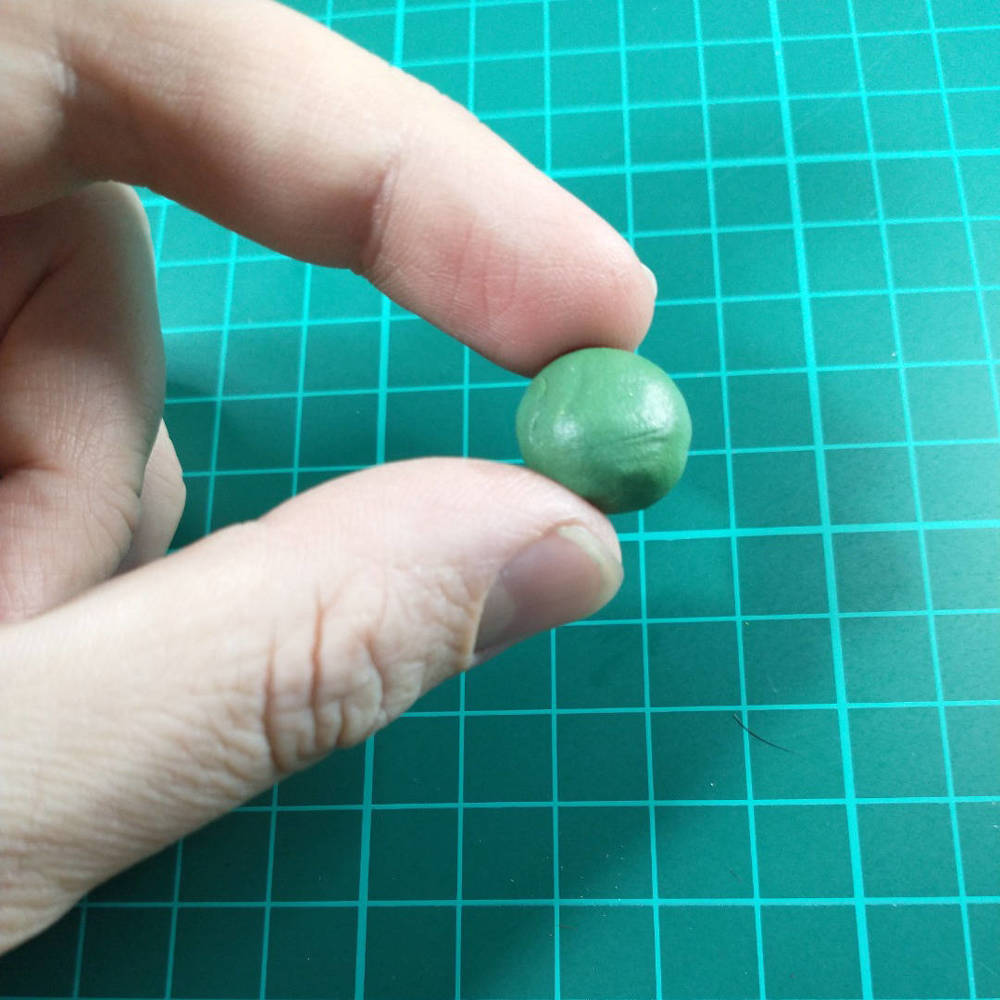
You’ve got about 1 hour’s working time, and then it will be set hard after a further 12 hours- possibly longer if the weather is cool.
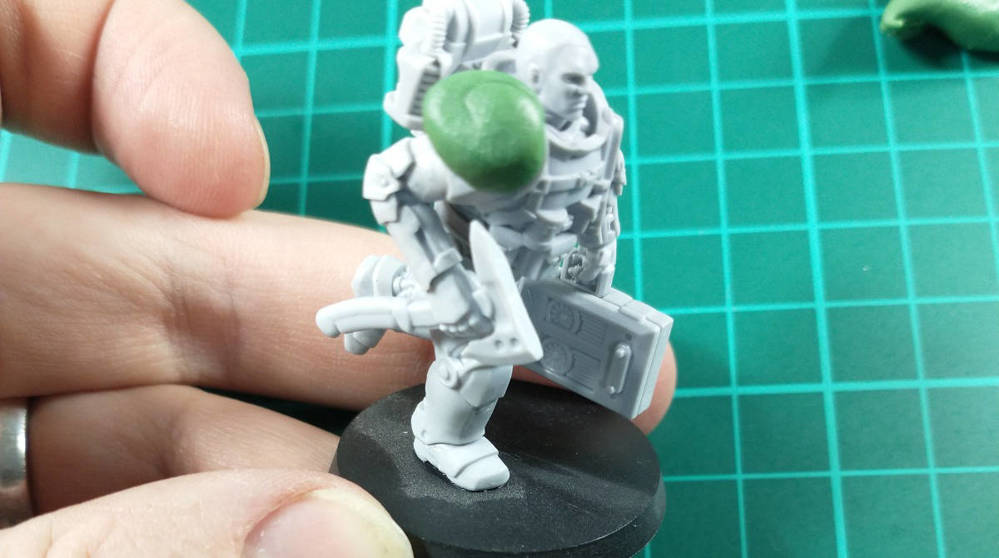
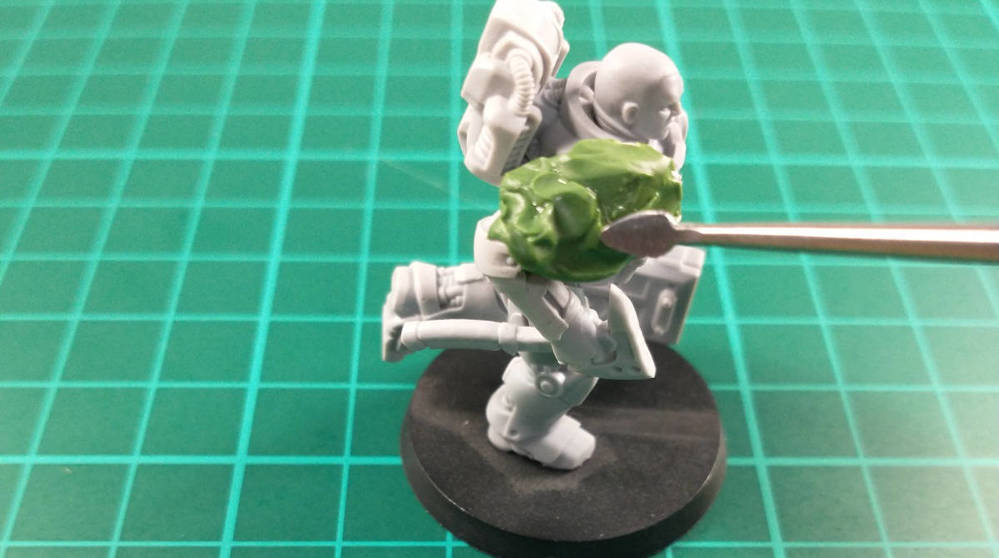
First, take a decent size blob and pop it onto the shoulder pad. A small pea-sized piece should be fine.
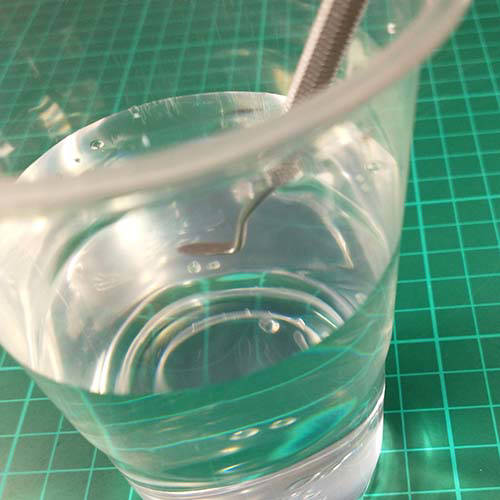
Remember to wet your tools every so often to make life easier for yourself and to ensure they don’t stick.
Form a rough shape by gently pressing down.
Push the fur the direction you want it to go and where you want the hair flowing. This Exo Lord is running, which is nice and easy. Look at the model, if it has billowing robes or wind tousled hair, take your cues from that.
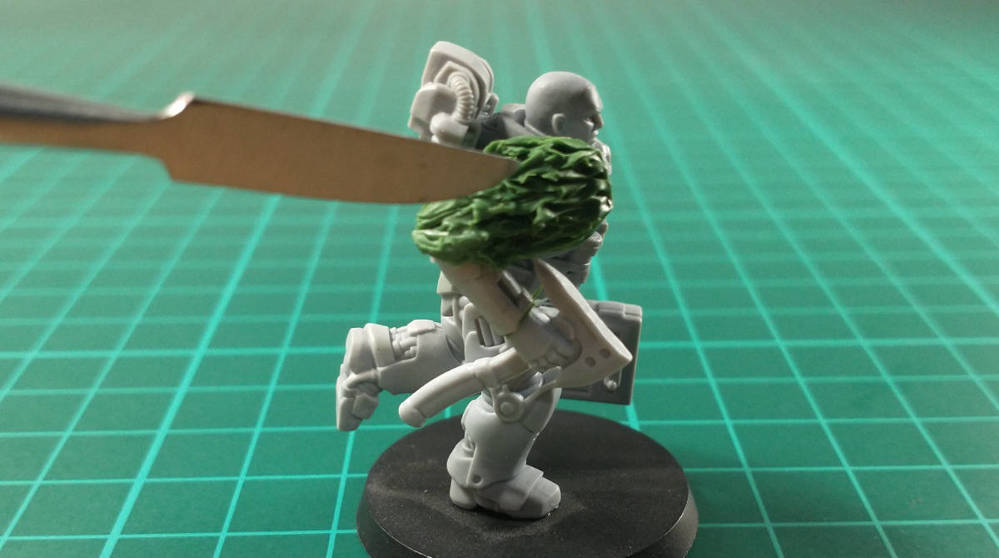
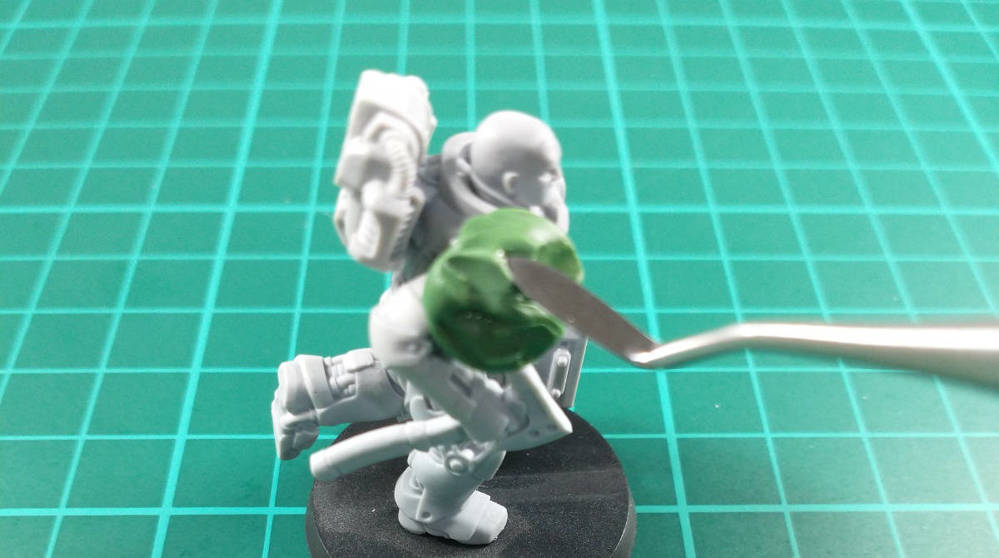
Using a bladed end of a sculpting tool, make fine lines about each third of the way down the fur, overlapping with the previous lines. Then flick to raise the edges of the fur

Neaten up by sorting out the “belled” ends of where the lines have dragged. Add in a few stray strands. All the hair should be going in roughly the same direction, but having a few pieces raised up a little more adds realism.
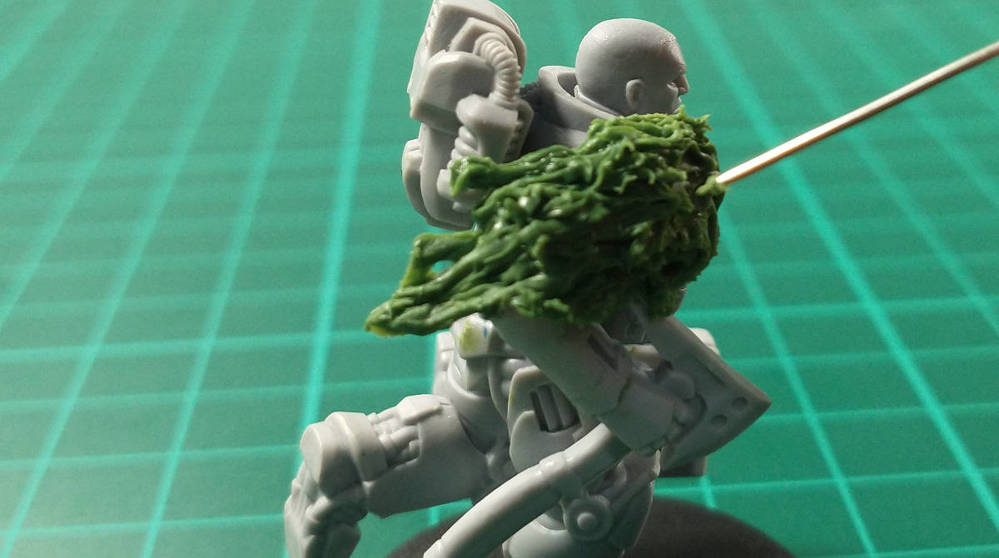
Finally, use a pin to drag across the surface- roughing up the edges as you go. Fine fur, such as the high class collar of our bouncer friend, is a little harder to do. You need far less Green stuff than you think for this.
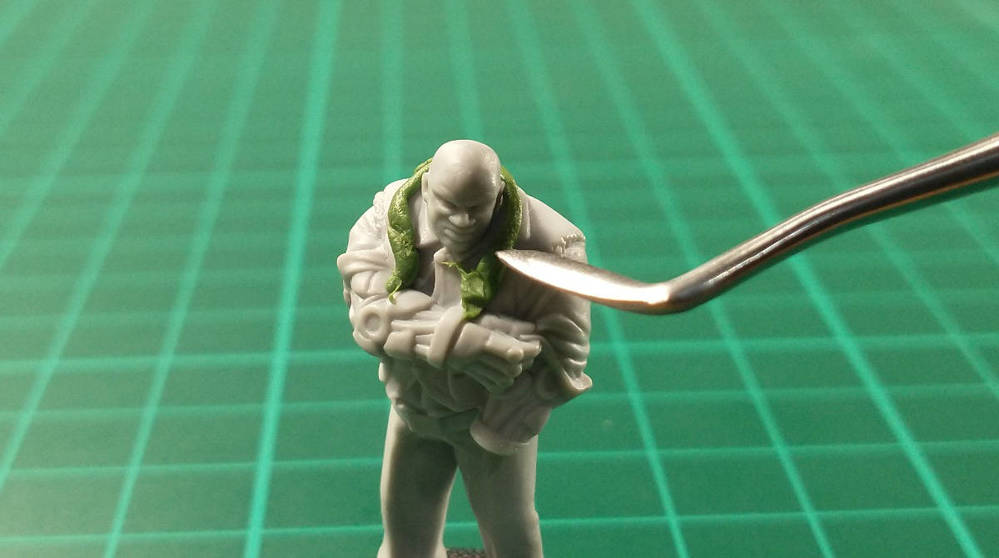
Put a thin string in place around the neck.
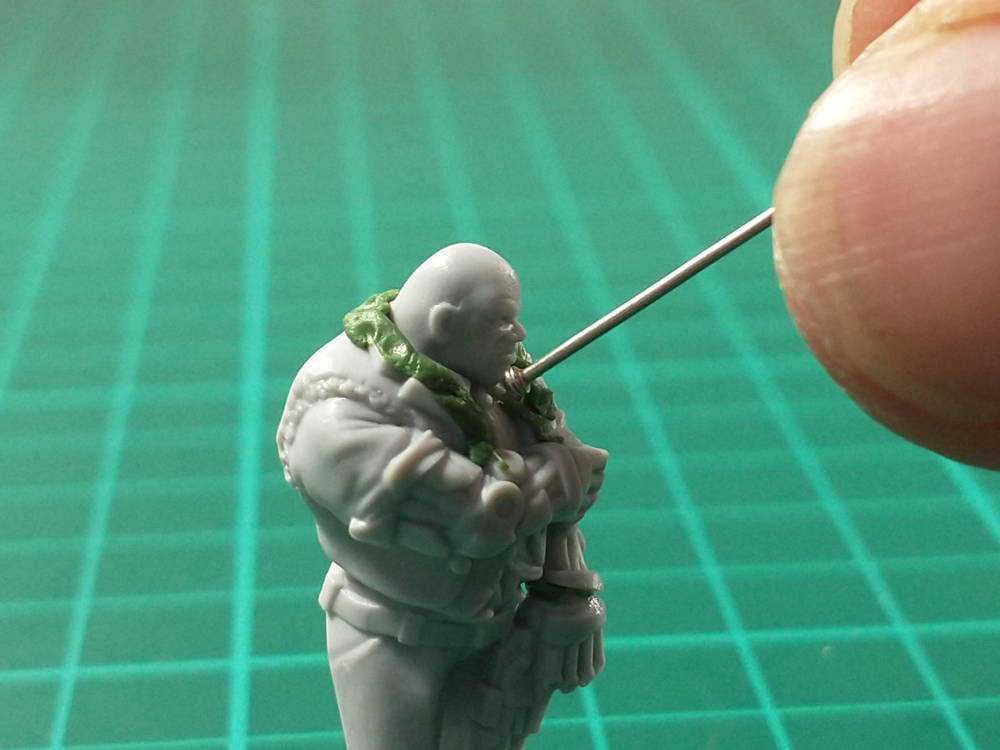
Using the head of a pin, poke it down into place. Remember to wet your tools!
_1000.jpeg)
If you want a very short fur, then use the tip of a pin to stroke downwards. You’re looking for short, very gentle strokes. Now, for this bouncer we wanted a fluffy collar- so we stroked upwards, which gave it a back combed look while still being neat.
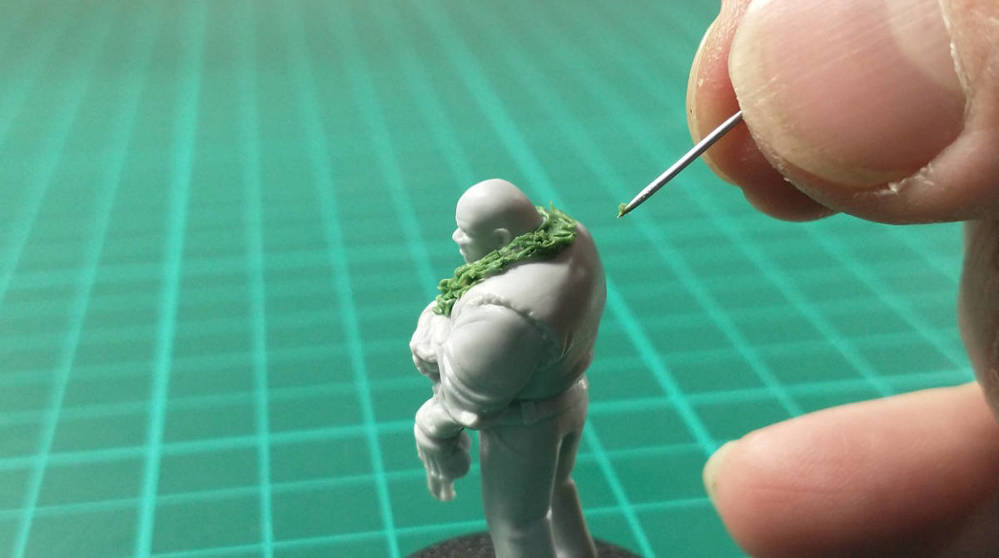
Now, tidy up the fur, poke stray strands back into place and ensure a consistent width. The things that make a shaggy shoulder pad look cool will just look messy here!
So, there you have it! Give it a go yourself and let us know how you get on with sculpting and converting models with fur.