Not too long ago, I was looking at some renders for models we had coming out in an upcoming Patreon Month bundle. And amongst those renders I saw a model that IMMEDIATELY made me think of a really cool idea for a mini diorama I could build up and paint and have on my hobby desk.
And that render was one of the “Fur Missiles” in our September Patreon bundle. (Now available as a Print-on-Demand item!)
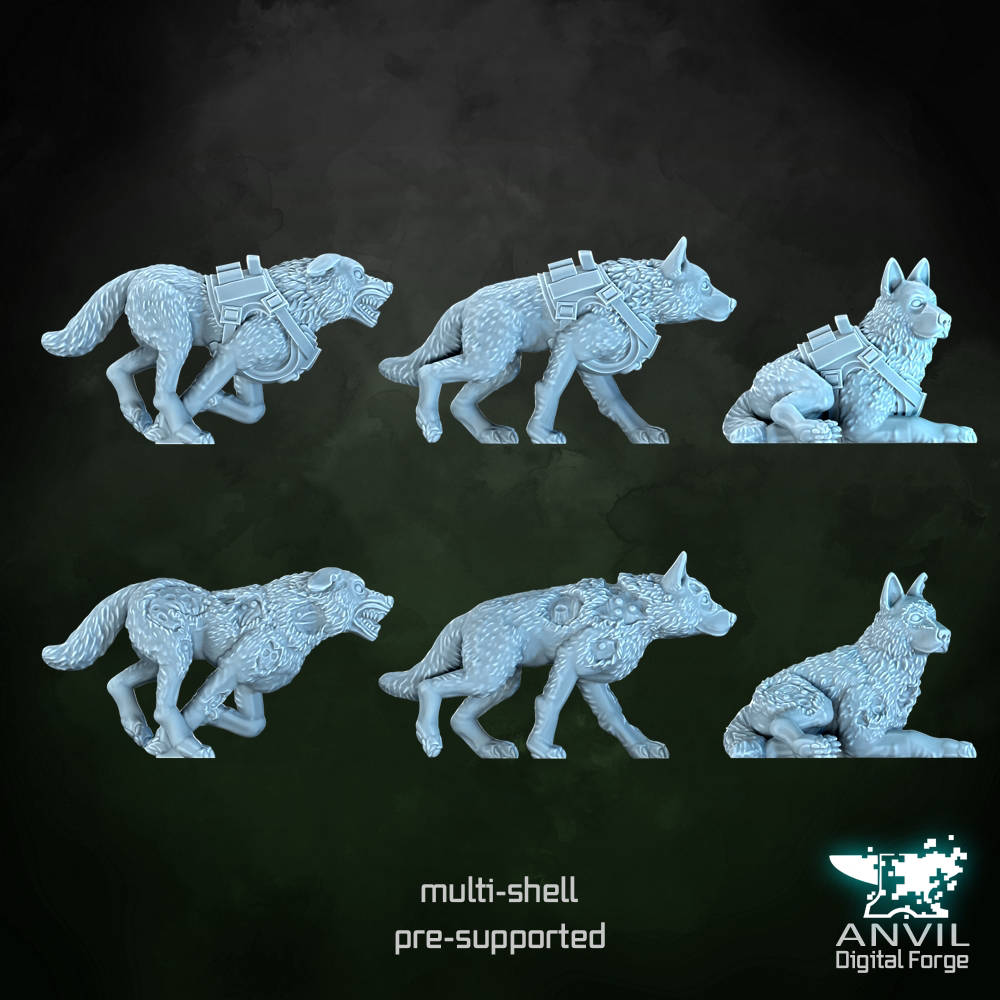
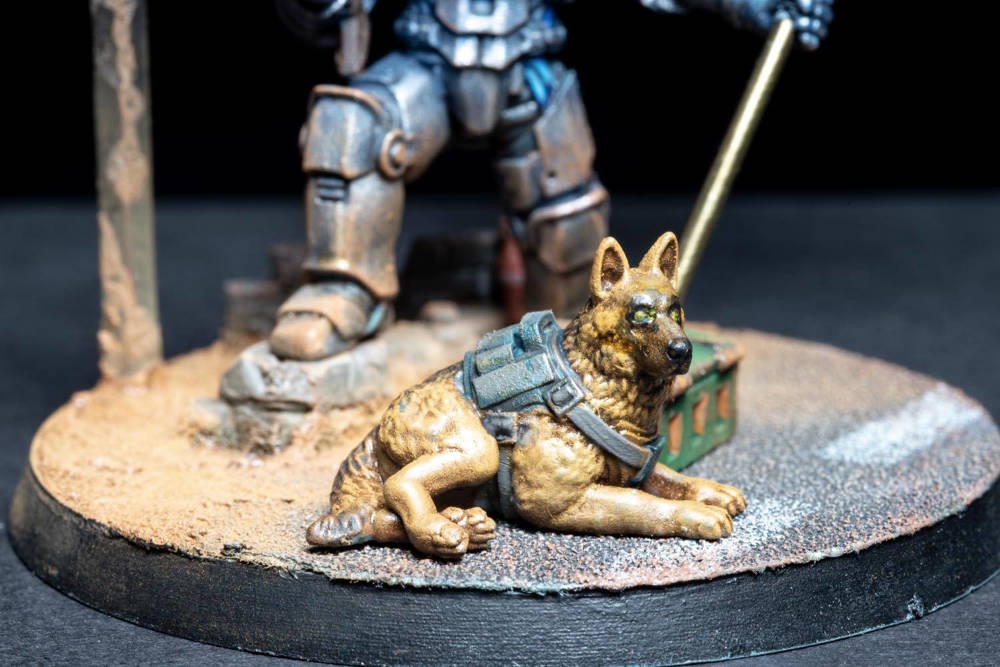
As a big fan of the Fallout® video game franchise by Bethesda when I was younger I straight away pictured “Dogmeat” standing with one of our Exo Lords, models in our range that can look very Fallout® inspired depending on how you build them, and got straight to work trying to figure out all the pieces I would need to pull off the image in my head !
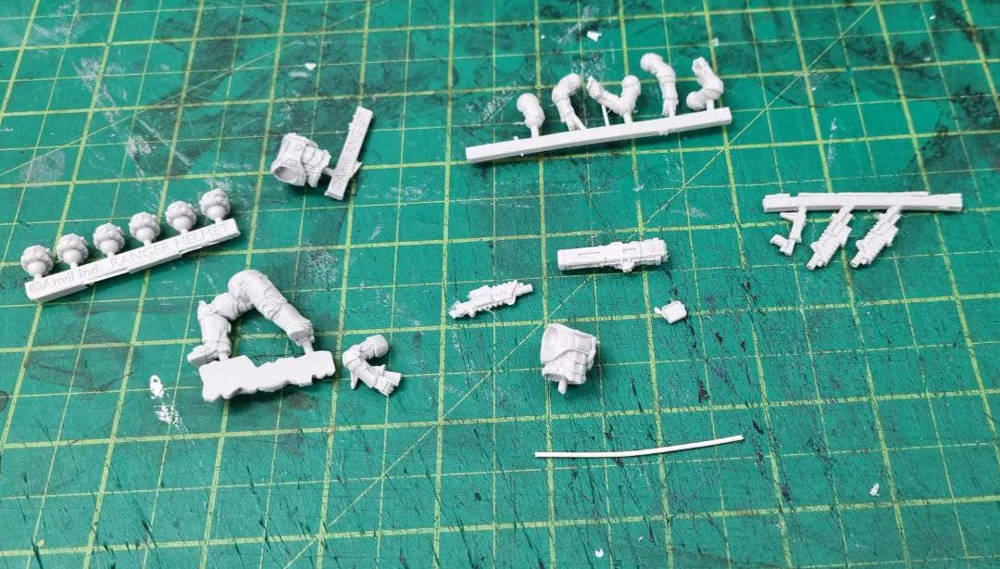
Going through our cast resin range, I managed to get the selection of parts down to this:
Exo-lord Character Pose Legs
Ranger Upgrade Torso
Ranger Mixed Arms
Ranger Helmets
Exorcist Carbine
Longbow Missile Launcher
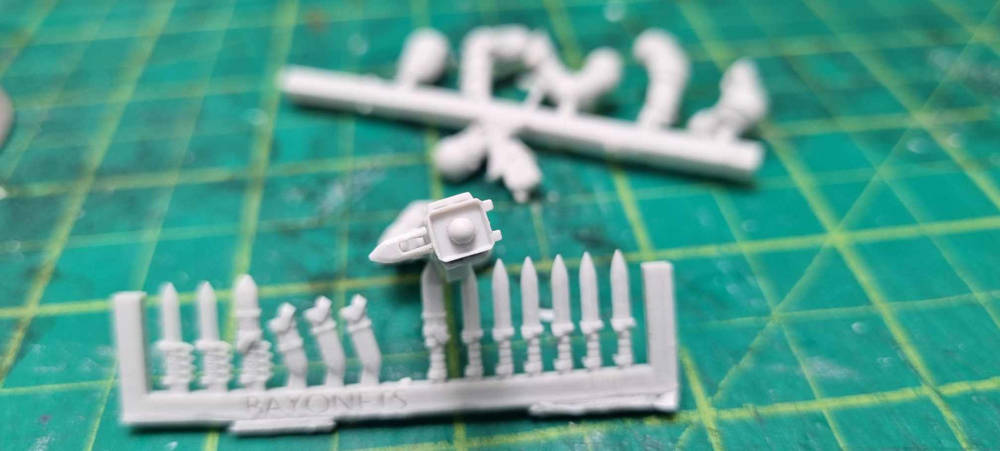
Bayonets
On top of those resin parts, I also needed from our Digital Forge:
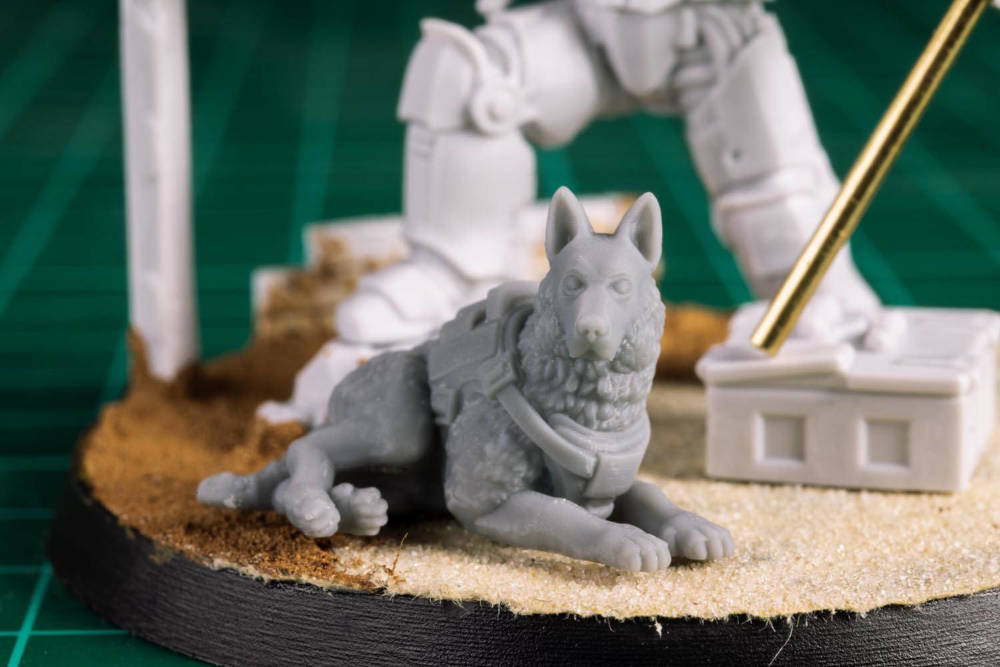
Sitting down Dog
Exo-lord Dieselpunk unhelmeted head & heavy shoulder pad
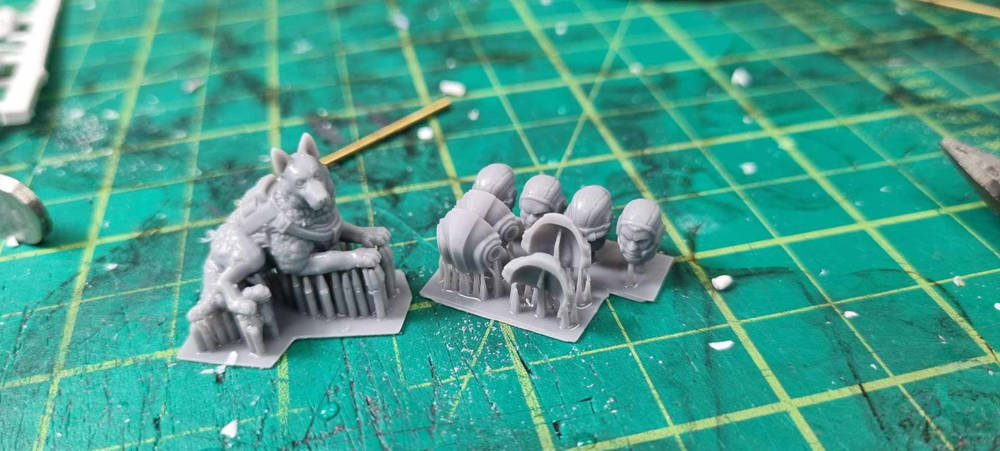
Once I had gathered all of these parts, the craziness began !
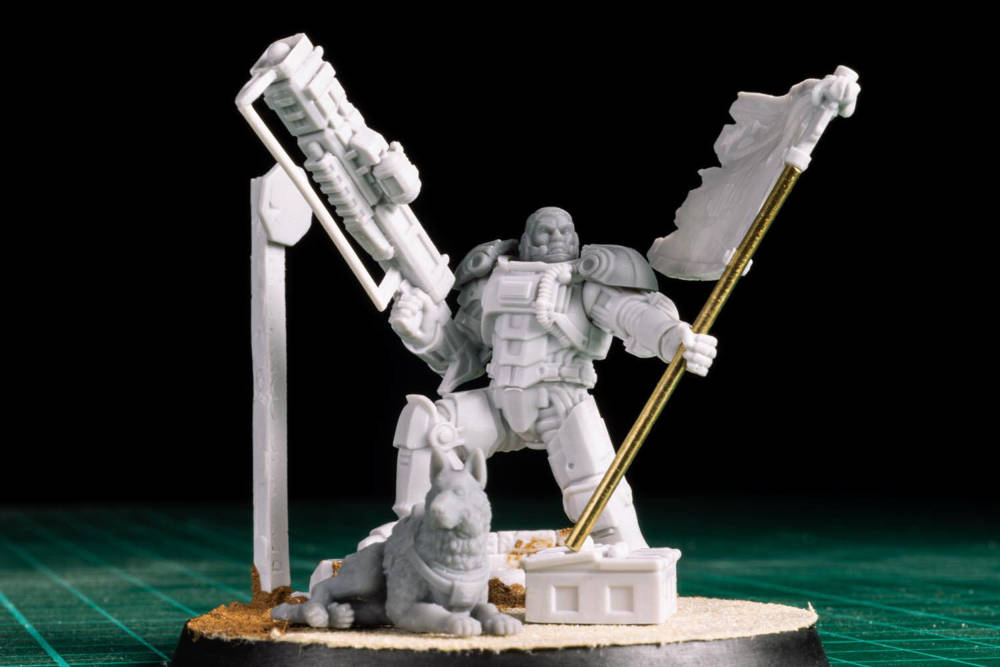
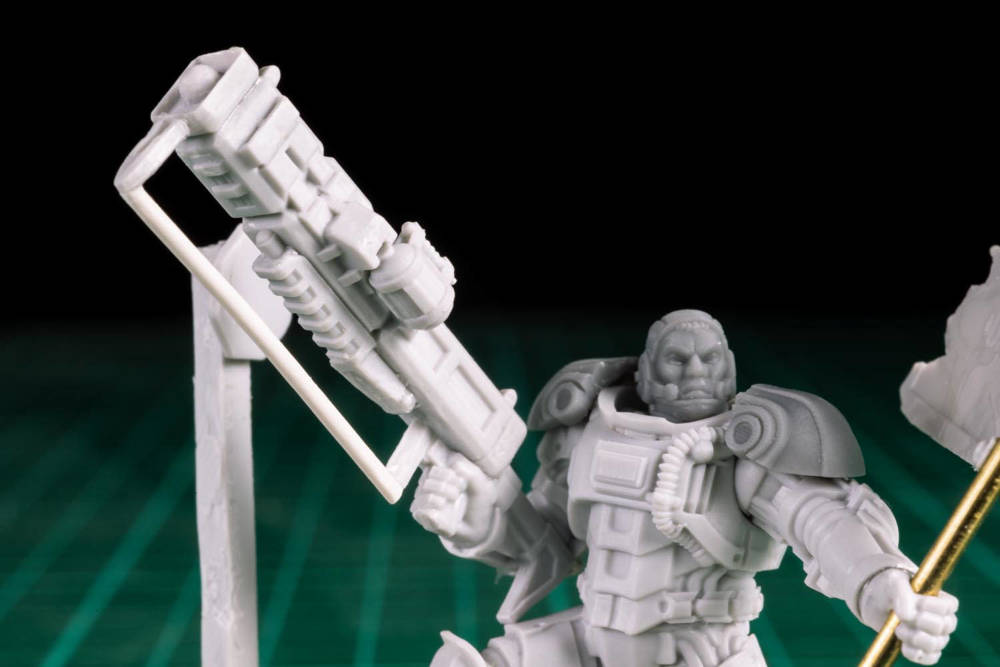
Building the base character model was the simplest part of the diorama, it was just putting together the pieces from our resin range like a regular model and voila, I have my “survivor”. I made the interesting choice of putting the Heavy shoulder pads on upside down so they laid flat and longer, because the look it gave the model once they were on was VERY reminiscent of Power Armour from Fallout which is what I wanted to get as close to as possible. The next part took a little bit of clever kitbashing and converting to pull off, the survivor’s trusty Laser Rifle !
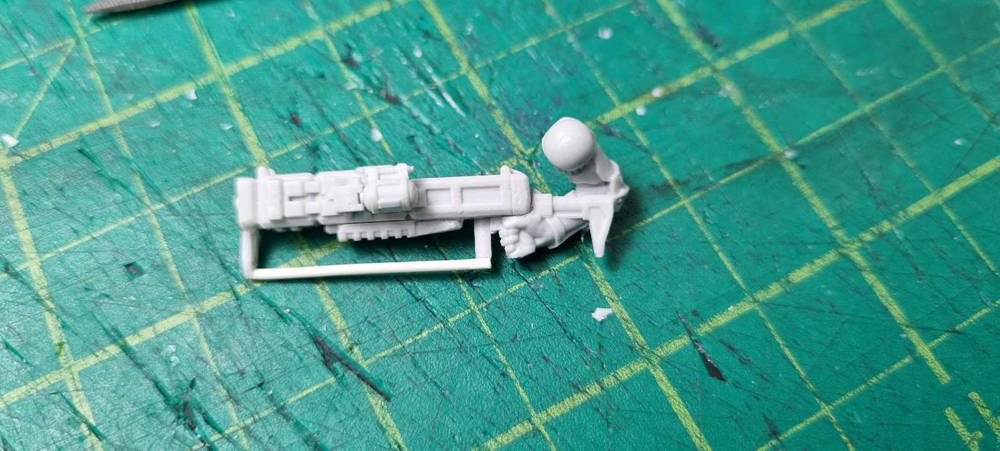
For this part, I started with the stock body of the gun, which I achieved simply by using a Longbow Missile Launcher and gluing on its front cap backwards to create a small indent at the front. Once that was done, I cut off a small piece of rounded resin and carefully glued it into the indent to create the “charge site” for shots to come out.
Now the weird part ! The underside of the rifle is quite iconic, and to achieve it as best I could I got the weirdest idea to cut down a Regiments Bayonet to look like the attachment point, and then use a piece of plastic rod to create the rail. I then took the Exorcist Carbine and chopped off the front grip area and glued it on underneath to add a grip to the body. The end result of my weird thought process left me with I thought a pretty cool looking “Laser Sniper Rifle”
I realised once I got to this point, there was a lip on the side that should totally have a power cell attached to it, and I found one of our Grenades was the perfect piece to just glue onto the side to achieve that look.
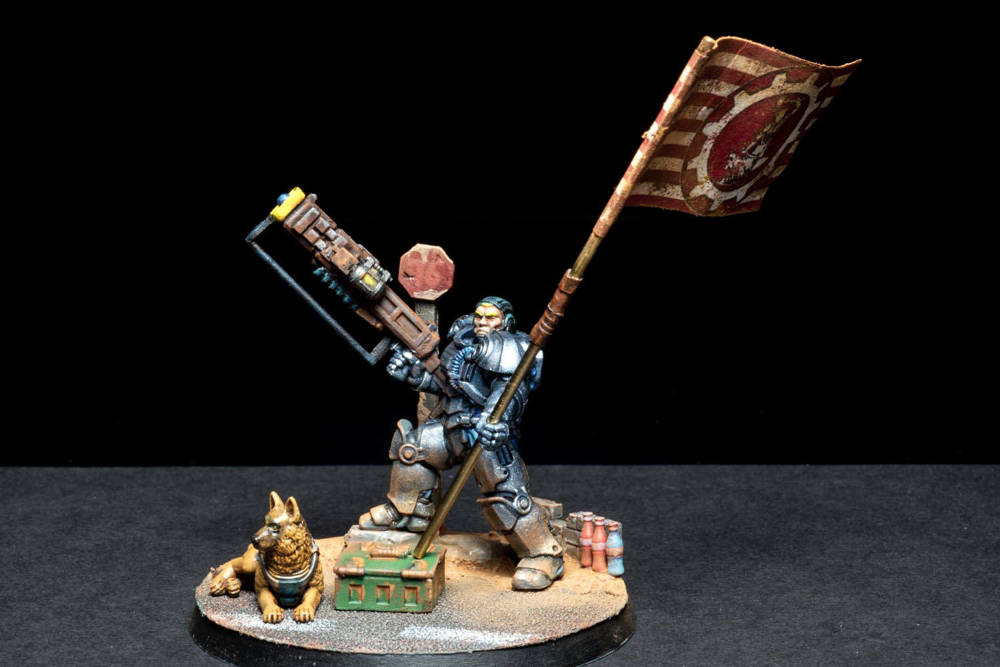
With that, the only thing left to do was build the banner I could imagine him waving high as he approached his enemies, and then the base he would be standing on. For the original banner idea, I used some brass rod and one of our Ragged Banners, but this part of the model changed after I had finished the build ( Which you will see in the later photos )
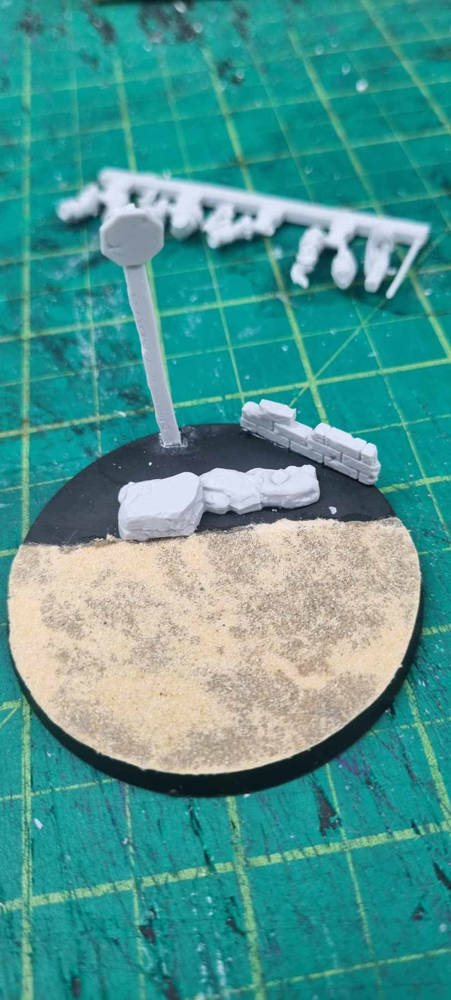
And for the base, the survivor 100% had to be standing on a dusty highway because that is 100% the environment that he would be standing tall in. For that, I used a combination of sandpaper for the road surface, and some Vallejo Earth Texture paint to create the sandy desert offroad. And from there I added some little scatter pieces found on our Regiments leg sprues, as well as a piece of sprue bar to create a metal sign post and a stop sign I cut off from our or Renegade Command Arms sprue, and some Glass Bottles.
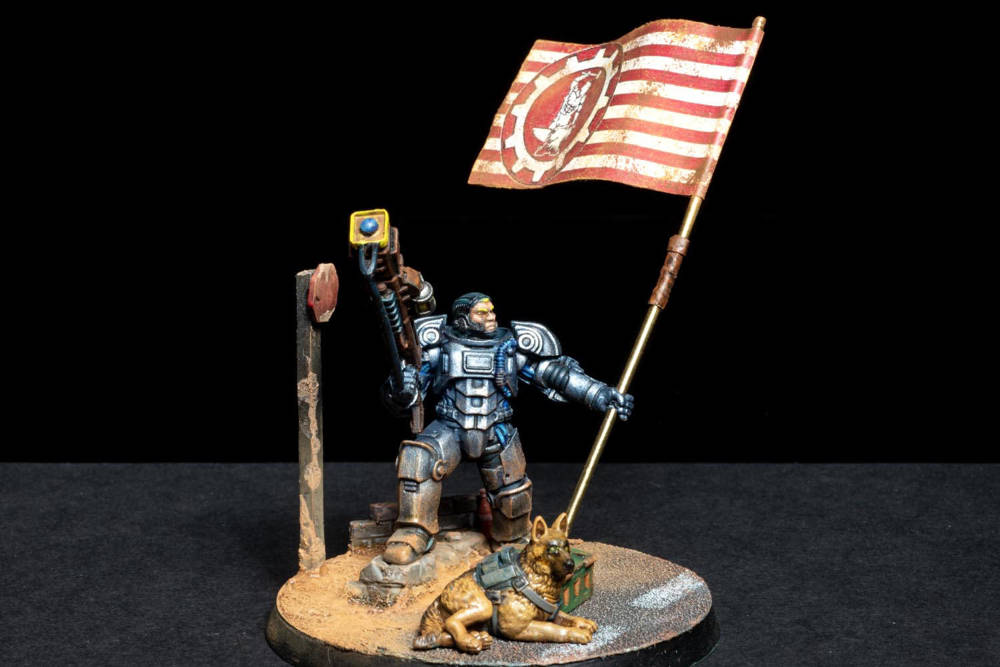
And with that ….. “The Survivor” was built
Now it was time to paint !!
As I started to paint the model, I began to feel like the banner wasn't “heroic” enough for him to bring into battle. So I asked fellow Staffer Attilla if they could design me a banner inspired by the Brotherhood of Steel© one but using our Logo in its place. Then after printing it up and using some PVA glue to turn it into a banner that looked like it had motion to it ….. The Brotherhood of the Forge Survivor was complete .
Fallout® and all associated terms are Trademark and Copyright Bethesda Softworks LLC.
Comparisons and images are used to provide examples of possible conversions to inspire hobbyists own modelling projects. This feature is not associated with Bethesda Softworks LLC in any way.


